
Migrate WooCommerce Account Funds to CreditKit Pro
Account Funds plugins do one thing well: they let customers prepay a balance and spend it later. Some stores eventually want something different — credits with a label of their own instead of a currency balance, shared team budgets with approval, or a ledger and API their own systems can read. If that is you, this guide walks through how to migrate WooCommerce account funds plugin balances to CreditKit Pro, what the import actually involves, and what changes on the other side.
Before you start: CreditKit Pro does not ship an automated importer. Moving balances is a one-time scripted import through the REST API, and you should run it against a staging site first.
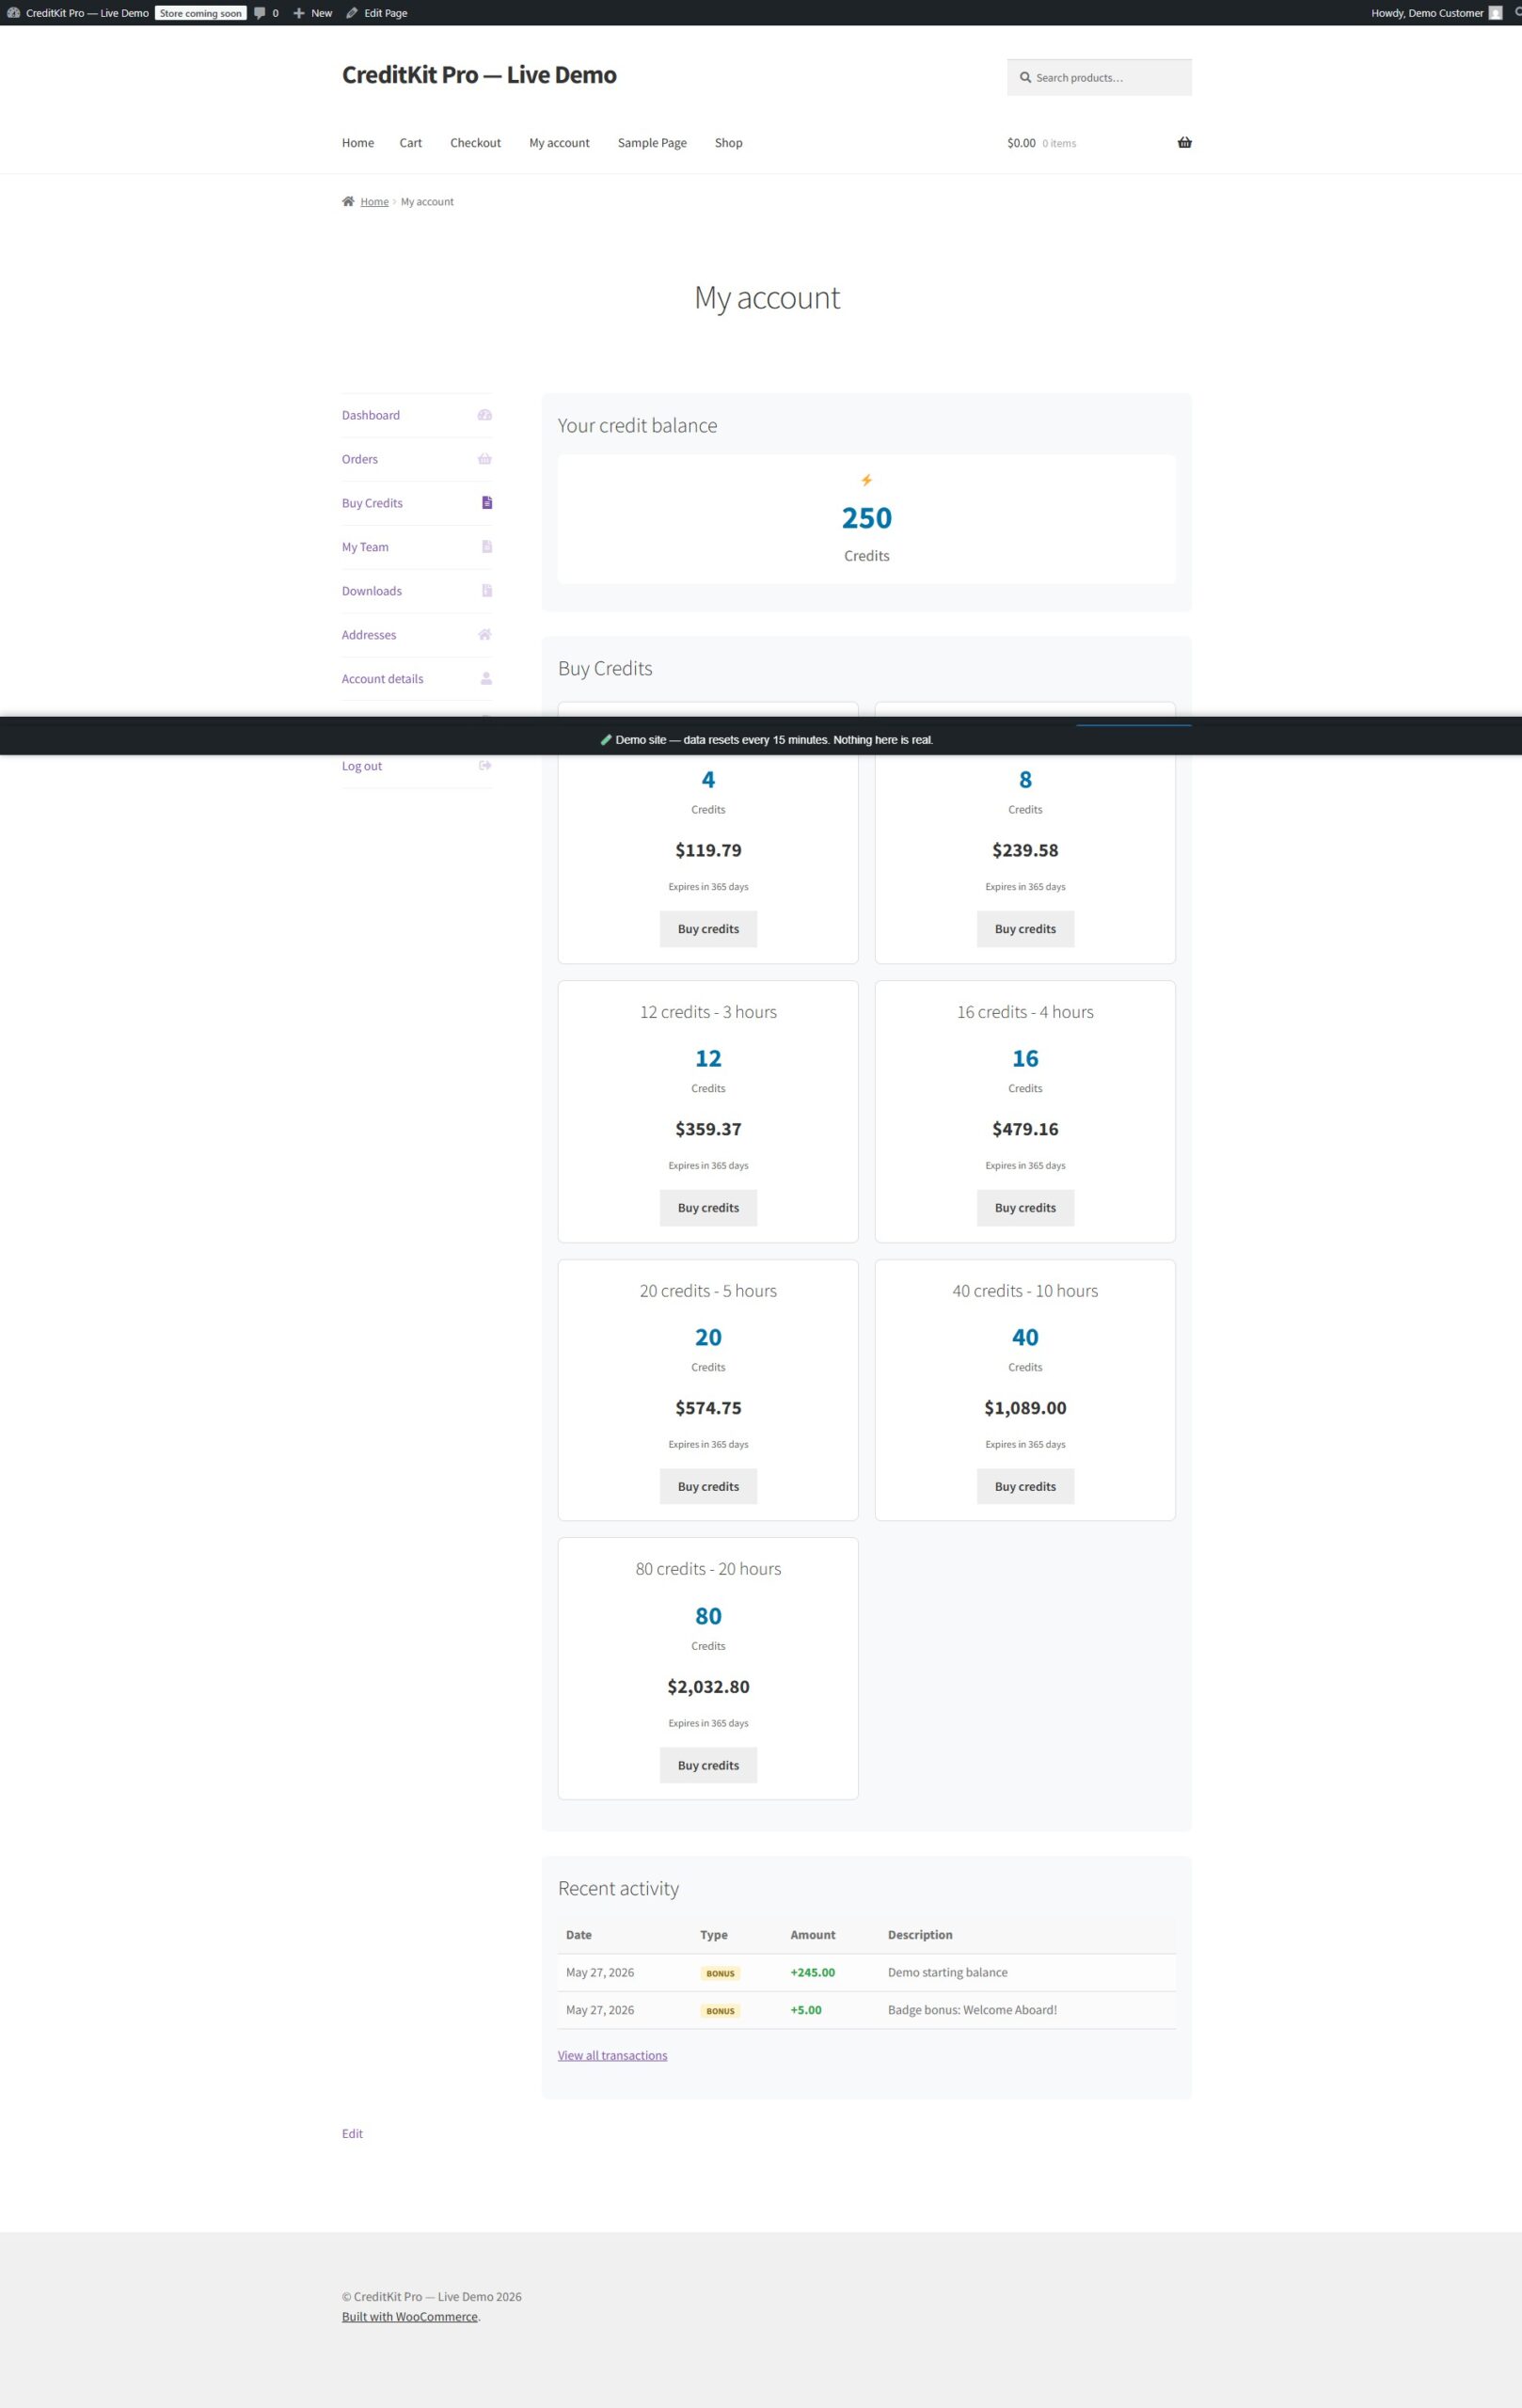
What you actually migrate when you move a WooCommerce account funds plugin
At its core, an Account Funds setup is two things: a stored balance per customer, and a way to spend that balance at checkout. CreditKit Pro maps to both directly:
- The balance becomes a credit balance in CreditKit Pro’s User Credits store, recorded against a full transaction ledger.
- The spend method becomes the pay-with-credits gateway, which covers an order entirely from the customer’s credit balance.
The label is yours to set — if your store has always said “account funds” or “store credit,” you can keep that wording while the system underneath is CreditKit Pro.
Step 1 — Export your current balances
Pull each customer’s current funds balance from your existing plugin. Most Account Funds tools expose this as user meta or a simple report. You want a list of customer identifier and current balance.
Step 2 — Import balances into CreditKit Pro
CreditKit Pro exposes a REST API for credit operations, so a one-time import script can create the opening balance for each customer as a ledger transaction. Doing it through the API rather than a raw database write means every imported balance lands in the ledger with a proper record, which keeps your audit trail clean from day one.
The endpoints and authentication are documented on the REST API reference. Every API request is checked against the caller’s own data (object-level authorization), and keys are hashed at rest, so the import respects the same security model as live traffic.
Step 3 — Switch the checkout
Activate the pay-with-credits gateway and confirm a test customer can pay an order entirely from their imported balance. Remember the gateway is all-or-nothing — an order is either fully covered by credits or paid another way. This matches how most Account Funds plugins behaved for full-balance purchases, but it is worth confirming against your store’s habits before you flip the switch for everyone.
Step 4 — Decide on refunds up front
Refunds work differently depending on how the order was paid, so it is worth planning for. Refunding an order paid with credits returns credits automatically, in proportion to the money refunded. On a money-paid order an admin can issue goodwill credit at a rate set store-wide in Settings → General. For many credit stores this matches how they prefer to operate — returning value to the wallet, not the card. But if your old workflow depended on exact partial-refund math, set your goodwill policy before launch so support is not improvising.
What you gain by moving
- A current stack. CreditKit Pro v2.2.0 targets PHP 8.1+, is HPOS-compatible, and supports the WooCommerce Blocks cart and checkout.
- A real ledger and reporting. Every credit movement is a transaction you can audit, not a single meta value you have to trust.
- Security that holds up. Atomic spend prevents oversell, idempotency protects against duplicate operations, and a 5-factor fraud scoring model flags suspicious activity.
- Room to grow into B2B. When you are ready to sell to teams, the Groups & Budgets module adds a shared prepaid team budget where a member spending above a threshold you set routes to a manager for approval.
- Automation hooks. Signed webhooks for key credit, team & security events plus a documented REST API let you wire top-ups, balance changes, and approvals into the rest of your stack.
The full module list is on Features, and the B2B budget mechanics are on Groups & Budgets.
The migration sequence
The sequence is: export, import via the REST API into a staging site, run a test checkout, set the goodwill credit rate, then repeat on production during a quiet window. How long it takes depends on your data and your team, so plan it rather than time-box it. The ledger import is the only data-sensitive step, and because it goes through the API it is straightforward to verify before you trust it.
If you have outgrown a simple funds balance, a credit system with a real ledger, an API and a path into team budgets is the natural next step. Pricing and license tiers are on Pricing.